

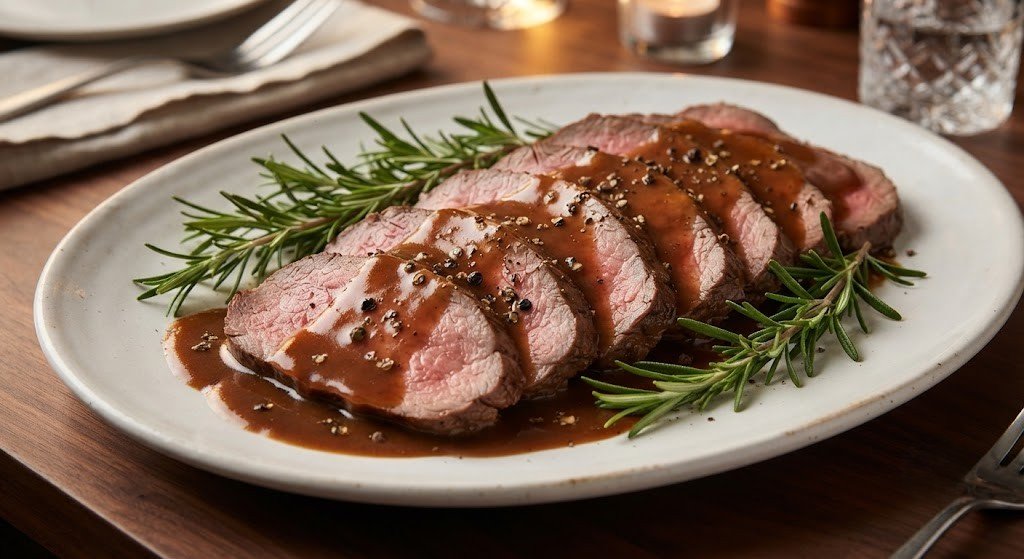
Nothing elevates comfort food quite like a ladle of rich homemade brown gravy. Whether poured over creamy mashed potatoes, seared Salisbury steak, tender roast beef, or crispy poutine, a properly made brown gravy brings warmth, umami, and luscious texture to any meal.
While store-bought packets and jarred gravies often rely on excess sodium, artificial flavorings, and thickeners, making gravy from scratch takes under 15 minutes and uses simple pantry staples. Whether you have pan drippings from a Sunday roast or are using high-quality store-bought beef stock, you can achieve a glossy, deeply flavorful brown gravy every single time.
Key Takeaways
- The Brown Roux Foundation: Cooking equal parts butter and flour until it turns a deep amber shade creates the signature nutty, savory base for your gravy.
- Umami Boosters: Small additions like Worcestershire sauce, soy sauce, or onion powder add rich complexity without making the gravy taste salty.
- Drippings vs. Broth: Pan drippings add incredible depth, but a rich beef bone broth or concentrated stock paste makes an equally fantastic gravy on weeknights.
- Temperature Control: Whisk in room-temperature or warm liquid gradually into the hot roux to eliminate lumps completely.
1. The Science of a Deep, Savory Flavor Base
The secret to a truly rich homemade brown gravy lies in building layers of flavor rather than relying on liquid salt.
Cooking a Medium-Dark Roux
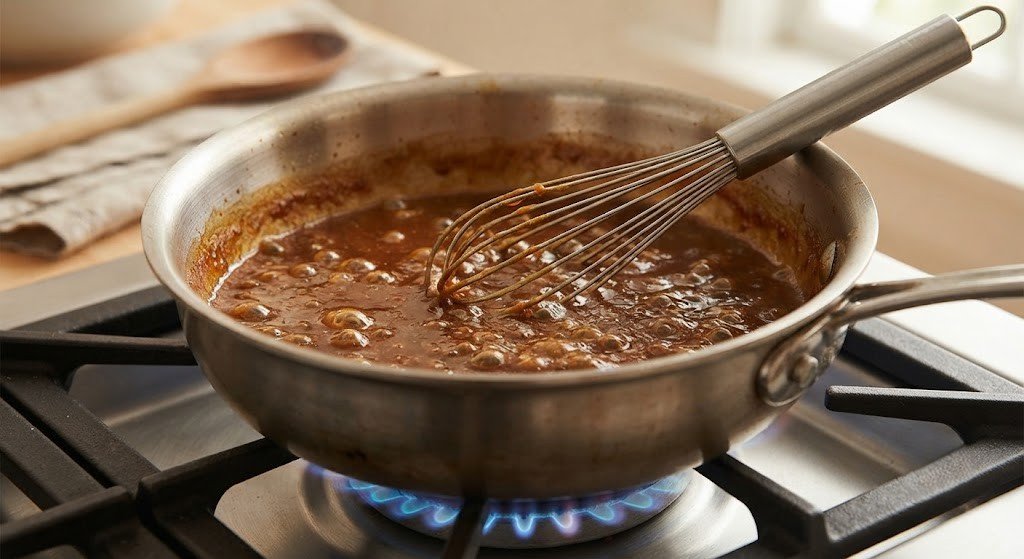
Unlike white sauces that use a pale roux, brown gravy relies on a brown roux. As you cook butter and flour together over medium heat, the starches toast and undergo the Maillard reaction. Aim for a deep golden-brown or hazelnut color before adding liquid. This step removes any raw flour taste and gives the gravy its signature color and nutty flavor profile.
2. Step-by-Step Instructions for Scratch Brown Gravy
Follow this reliable method to make gravy using either pan drippings or beef broth.
Ingredients
- 4 tbsp unsalted butter (or rendered pan drippings/beef fat)
- 1/4 cup all-purpose flour
- 2 cups low-sodium beef stock or broth (warmed)
- 1 tsp Worcestershire sauce
- 1/2 tsp onion powder
- 1/4 tsp garlic powder
- Salt and freshly cracked black pepper to taste
- 1 tbsp cold butter (for finishing)
Step-by-Step Method
- Melt Fat: In a skillet or saucepan over medium heat, melt the butter (or warm your strained pan drippings).
- Build the Roux: Whisk in the flour. Cook for 4 to 5 minutes, stirring constantly until the mixture turns a nutty brown shade.
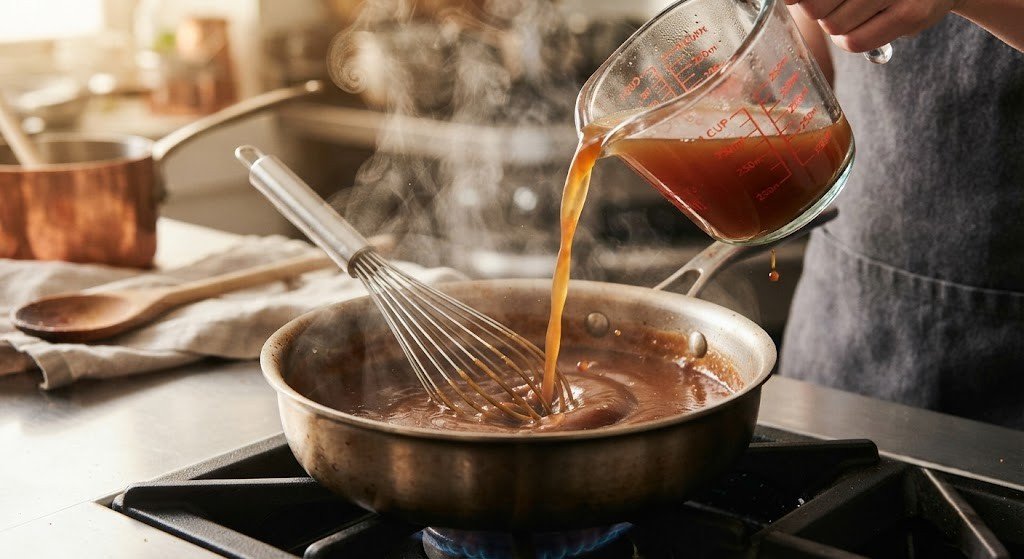
- Whisk in Liquid: Slowly pour in the warm beef stock in a thin stream while whisking continuously to prevent lumps from forming.
- Simmer & Season: Add Worcestershire sauce, onion powder, and garlic powder. Bring to a gentle boil, then lower heat and simmer for 3 to 5 minutes until thick enough to coat the back of a spoon.
- Finish: Remove from heat and stir in salt, black pepper, and the final tablespoon of cold butter for a glossy sheen.
For those interested in mastering classical reduction methods that build natural gelatin and fond, check out our detailed guide on [Internal Link: Insert relevant internal URL here with anchor text: how to make a pan sauce out of fond].
To learn more about professional food safety standards regarding storing and reheating meat-based sauces, consult the guidelines provided by the [External Link: Insert high-authority external URL here with anchor text: USDA Food Safety and Inspection Service].
3. How to Enhance & Fix Your Gravy Like a Chef
Even simple recipes can sometimes run into texture or seasoning issues. Here is how to keep your rich homemade brown gravy smooth and flavorful every time.
Troubleshooting Common Gravy Issues
- Lumpy Texture: Pass the gravy through a fine-mesh sieve or use an immersion blender for 10 seconds to smooth it out instantly.
- Gravy Too Thin: Simmer for an extra 3 to 5 minutes, or whisk in a slurry made of 1 teaspoon cornstarch dissolved in 1 tablespoon of cold water.
- Gravy Too Pale: Stir in a dash of Worcestershire sauce, a drop of Kitchen Bouquet seasoning, or a splash of dark soy sauce.
Pro Tips for Maximum Flavor
- Use High-Quality Stock: Because stock is the main liquid component, choose a low-sodium, high-collagen beef bone broth for the best body and mouthfeel.
- Never Skip the Final Butter: Swirling in cold butter right off the heat (monté au beurre) creates a velvety emulsion that gives your gravy a professional, glossy finish.
- Adjust Seasoning Last: Concentrating liquid through simmering increases saltiness, so always taste and adjust your final salt levels right before serving.
Conclusion
Making a rich homemade brown gravy from scratch is an essential kitchen skill that transforms simple meals into memorable comfort food. By cooking a brown roux, whisking in warm stock, and adding savory umami boosters, you create a velvety, restaurant-quality gravy without artificial shortcuts. Give this simple technique a try for your next roast dinner or weeknight meal!
Frequently Asked Questions (FAQs)
Can I make rich homemade brown gravy without pan drippings?
Yes! A rich brown gravy can easily be made using a high-quality store-bought or homemade beef stock combined with butter, flour, onion powder, and Worcestershire sauce for depth.
How do I store and reheat leftover brown gravy?
Store leftover gravy in an airtight container in the refrigerator for up to 4 days. Reheat it in a saucepan over medium-low heat, adding a splash of water or broth if it has thickened too much in the fridge.
Is brown gravy gluten-free?
Standard brown gravy uses all-purpose flour in the roux, which contains gluten. To make a gluten-free version, substitute a 1:1 gluten-free baking flour for the roux or thicken your seasoned beef broth with a cornstarch slurry instead.