

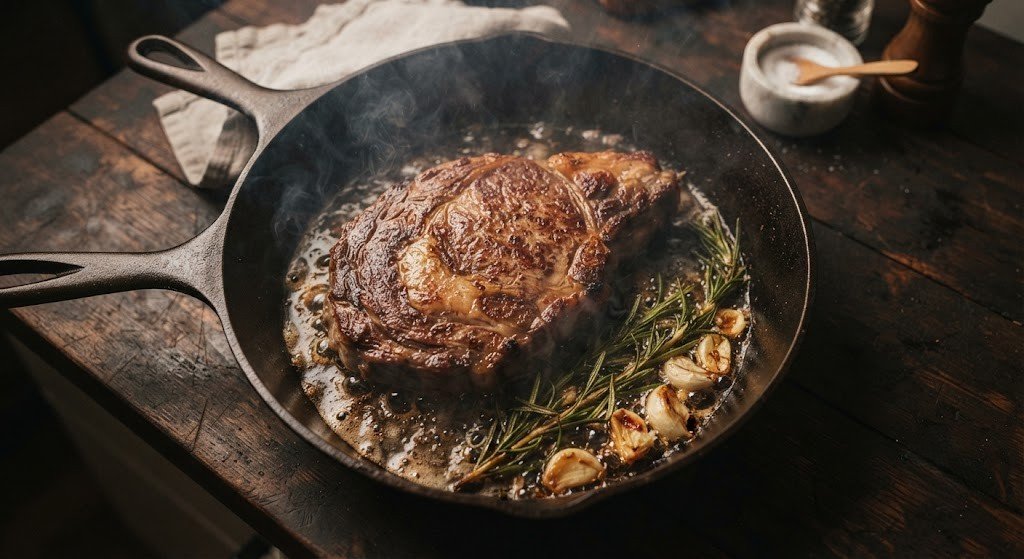
Nothing compares to the deep, golden-brown crust achieved by searing a steak or chicken breast in a heavy cast-iron skillet. However, few kitchen frustrations equal watching a beautiful cut of meat stick to the pan, tearing away that prized crust when you try to flip it.
The good news is that cast iron is not inherently sticky. When meat adheres to the pan, it is almost always due to a breakdown in temperature control, surface moisture, or seasoning health. By understanding the thermal mechanics of cast-iron cooking, you can consistently achieve effortless food release and perfect caramelization.
Key Takeaways
- Hot Pan, Cold Oil: Always preheat the skillet thoroughly before adding oil, and let the oil shimmer before adding the meat.
- Dry the Surface: Pat your meat completely dry with paper towels; surface moisture causes steaming and severe sticking.
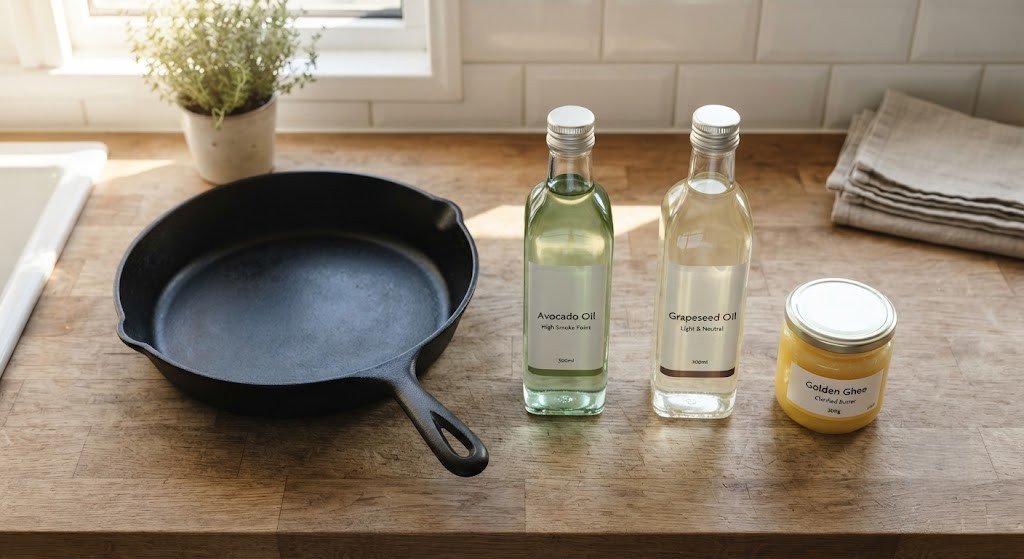
- High Smoke Point Oils: Use high-heat oils like avocado, grapeseed, or clarified butter (ghee) to avoid acrid smoke and polymer burning.
- Let the Maillard Reaction Work: Meat naturally releases itself from cast iron once a proper browned crust forms—never force a flip early.
- Maintain Seasoning: A healthy layer of polymerized oil acts as a natural non-stick barrier.
1. The Science of Why Meat Sticks to Cast Iron
To effectively prevent sticking when searing meat in cast iron, it helps to understand what happens at a microscopic level.
Cast iron feels smooth to the touch, but its surface is full of microscopic pores and valleys. When cold meat hits a cool or warm skillet, the proteins bond with the iron atoms in the pan through weak chemical bonds.
To break these bonds naturally, you need two things: high heat and time. When the pan is properly heated, the proteins undergo the Maillard reaction—a chemical reaction between amino acids and reducing sugars that creates a crisp crust. As this crust forms, it contracts and naturally detaches from the iron surface. If you attempt to flip the meat prematurely, you rip the bonding proteins apart, leaving your crust stuck to the skillet bottom.
[Internal Link: Insert internal link here to a guide on understanding the Maillard reaction with anchor text “mastering the Maillard reaction”]
2. Preheating: The Golden Rule of Non-Stick Searing
The most common mistake home cooks make is rushing the preheating phase. Cast iron holds heat exceptionally well, but it conducts heat slowly and unevenly.
How to Properly Preheat Your Skillet
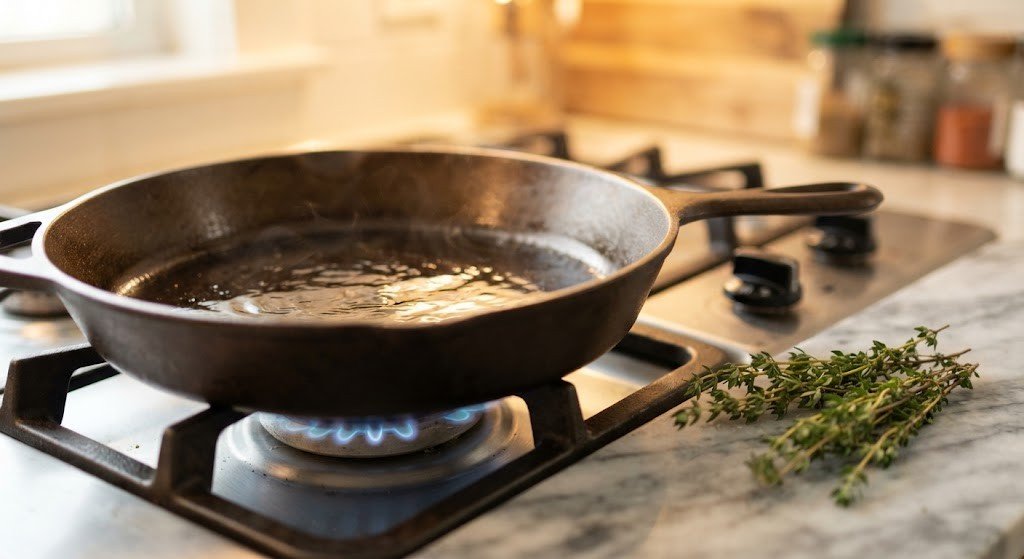
- Low and Slow Heating: Place your dry cast-iron skillet over medium-low heat for 5 to 10 minutes. This allows heat to distribute evenly across the entire surface rather than creating a central hot spot.
- Test for Readiness: Flick a few droplets of water onto the pan. If they evaporate immediately, it needs more time. If they bead up and dance across the surface (the Leidenfrost effect), the pan is hot.
- Add the Oil Last: Once the pan is fully preheated, add 1 to 2 tablespoons of oil with a high smoke point. Swirl to coat the bottom, and wait until it glistens and faint wisps of smoke appear before laying down your meat.
3. Preparing Meat for a Sticking-Free Sear
Proper skillet management is only half the equation; how you prepare the meat before it touches the pan is equally vital to prevent sticking cast iron meat.
Surface Moisture is the Enemy
Water turns into steam when it encounters hot oil. Steam creates a barrier that drops the pan’s surface temperature rapidly, preventing the Maillard reaction and causing the meat proteins to stick aggressively.
- Pat Thoroughly Dry: Use paper towels to press dry all sides of the meat right before cooking.
- Dry-Brining in the Fridge: For the ultimate sear, salt your meat and leave it uncovered on a wire rack in the refrigerator for 4 to 24 hours. The cold air evaporates surface moisture while the salt draws out and reabsorbs proteins for maximum flavor and tenderness.
- Bring Close to Room Temperature: Cold meat straight from the fridge causes an aggressive temperature drop in the skillet. Allow thick cuts to sit at room temperature for 20–30 minutes prior to searing.
[External Link: Insert high-authority external link here to USDA food safety guidelines on raw meat preparation with anchor text “USDA meat safety and handling guidelines”]
4. Selecting the Right Oil for High-Heat Searing
Using the wrong oil can ruin both your pan’s seasoning and your meal. Low smoke point fats like extra virgin olive oil or unrefined butter burn quickly at searing temperatures (400°F–500°F / 200°C–260°C), creating carbonized bitterness and sticky residues.
| Cooking Fat / Oil | Smoke Point | Best For |
| Avocado Oil | 520°F (270°C) | High-heat searing, thick steaks |
| Grapeseed Oil | 420°F (215°C) | Everyday searing, neutral flavor |
| Refined Peanut Oil | 450°F (232°C) | High-heat chops and poultry |
| Clarified Butter (Ghee) | 485°F (250°C) | Rich flavor, high-temperature crusts |
| Extra Virgin Olive Oil | 375°F (190°C) | Avoid for high-heat searing |
5. Maintenance: Building and Preserving Your Non-Stick Coating
Even perfect technique won’t overcome a pan whose seasoning layer is damaged or caked with burnt carbon.
Clean Immediately After Use
Never leave a dirty cast-iron pan in the sink or soak it in water. Clean it while it is still warm using hot water and a stiff nylon brush or chainmail scrubber. Contrary to myth, mild dish soap is completely safe to use on modern seasoned cast iron because it does not break down polymerized fat layers.
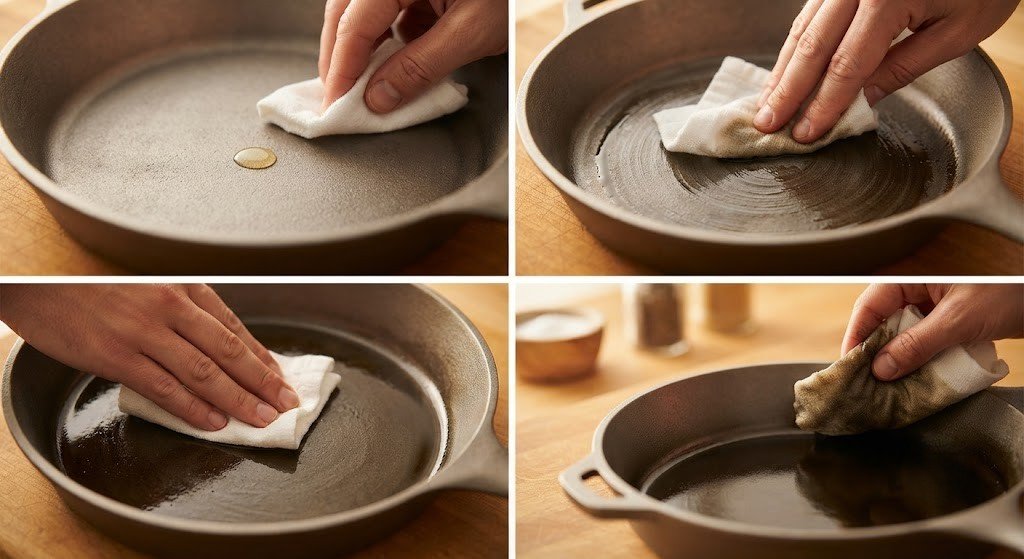
Re-Season After Every Cook
- Dry the skillet thoroughly over low stovetop heat to remove all hidden moisture.
- Apply a tiny drop (less than a dime size) of neutral oil to the interior.
- Use a clean paper towel to rub the oil all over the pan until it appears matte and dry—no greasy puddles.
- Heat until faint smoke appears, then turn off the burner and let it cool completely.
Conclusion
Preventing meat from sticking to your cast-iron skillet comes down to mastering simple thermal science: a hot pan, dry meat, the right fat, and patience. When you give the Maillard reaction time to build a crisp, delicious crust, the meat will release itself effortlessly, rewarding you with steakhouse-quality results in your own kitchen.
Take care of your cast iron through consistent drying and light oiling after every meal, and it will remain your most reliable, non-stick kitchen workhorse for decades to come.
Frequently Asked Questions (FAQs)
Why does my meat stick even when I preheated the pan?
If your pan is hot but meat still sticks, the surface of the meat was likely damp, or you attempted to turn it too early. Ensure the meat is patted completely dry and allow it to cook undisturbed until a brown crust forms, which naturally releases the meat from the iron.
How do I know when it’s time to flip meat in cast iron?
Gently slide a thin metal spatula under the edge of the meat. If you feel resistance or tearing, stop and give it another 30 to 60 seconds. When properly seared, the meat will lift off the pan smoothly with zero force.
Can I fix a cast-iron pan if food sticks every time I cook?
Yes. Sticking often indicates built-up burnt carbon or stripped seasoning. Scrub the pan thoroughly with a chainmail scrubber or coarse kosher salt, dry it completely on the stove, and apply 2–3 layers of stovetop or oven seasoning to restore a smooth surface.