

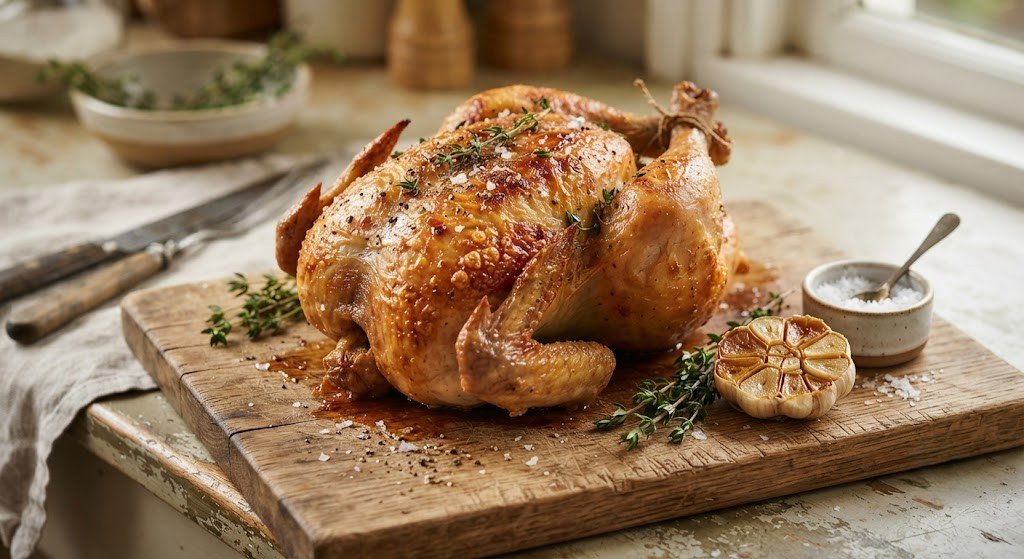
Achieving restaurant-quality, glass-like crispy chicken skin at home is a classic culinary challenge. Whether roasting a whole bird, searing chicken thighs, or baking wings, wet or soggy skin often ruins an otherwise delicious dish.
The secret to bite-through crackling skin isn’t magic—it’s food science. Moisture is the ultimate enemy of crispiness, while proper heat distribution and fat reduction are its best friends. Understanding how to get crispy chicken skin requires mastering three core steps: thorough drying, effective seasoning, and precise heat management.
Key Takeaways
- Moisture Removal is Critical: Always pat the surface dry with paper towels and allow the chicken to dry-brine uncovered in the refrigerator overnight.
- Baking Soda & Salt Chemistry: A small amount of baking soda combined with kosher salt lowers the skin’s pH and breaks down proteins for superior browning and blistering.
- Fat Elevation: Render fat out by using elevated wire racks during roasting, preventing the chicken from sitting in its own juices.
- High Heat Finishes: Start low to render fat or finish high to burst moisture bubbles, creating that signature crunch.
The Science of Crispy Skin: Why Chicken Skin Gets Soggy
Before diving into techniques, it helps to understand why chicken skin behaves the way it does under heat.
Chicken skin consists primarily of water, fat, and collagen. When exposed to heat during cooking, two main transformations must take place for the skin to become crispy:
- Water Evaporation: Water boils at $212^\circ\text{F}$ ($100^\circ\text{C}$). As long as surface moisture remains on the skin, its temperature cannot rise significantly above this point. High-temperature reactions that create crispiness cannot occur in the presence of water.
- The Maillard Reaction & Collagen Breakdown: Once surface moisture evaporates, the skin temperature rises above $285^\circ\text{F}$ ($140^\circ\text{C}$). This triggers the Maillard reaction—a chemical reaction between amino acids and reducing sugars that gives browned food its desirable flavor and crisp texture.
If fat cannot render out or steam gets trapped under or around the skin, the skin effectively steams rather than roasts, leaving you with a rubbery texture.
Step 1: Surface Moisture & The Overnight Refrigerator Cure
If you want to know how to get crispy chicken skin consistently, the process begins hours before the chicken ever touches a pan or oven.
1. Pat Dry Thoroughly
Remove the chicken from its packaging and thoroughly pat every inch dry using heavy-duty paper towels. Pay close attention to folds around the wings and thighs where water collects.
2. Dry-Brine Uncovered
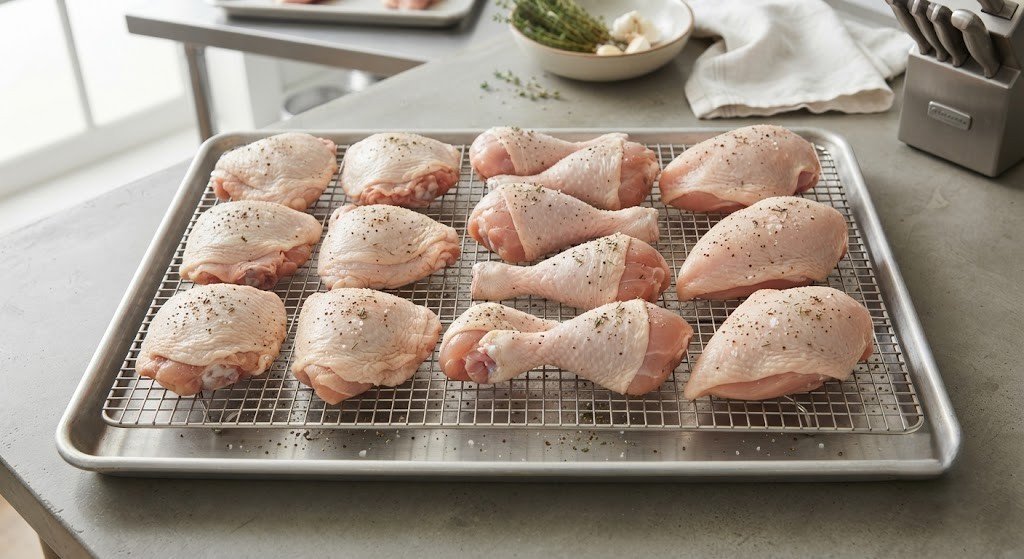
Place the chicken on a wire rack set inside a sheet pan. Season generously with kosher salt, then place it uncovered on the bottom shelf of your refrigerator for 12 to 24 hours. The cold, dry air of the refrigerator pulls moisture out of the epidermis, leaving behind a parchment-like skin that crisps instantly when hit with heat.
[Internal Link: Insert relevant internal URL here with anchor text: “guide to mastering the dry-brining method for poultry”
Step 2: The Secret Weapon Ingredients (Baking Powder & Salt)
While salt draws out moisture and seasons the meat, mixing in one household ingredient creates unmatched texture on baked chicken wings and drumsticks.
Aluminum-Free Baking Powder
Adding a tiny amount of aluminum-free baking powder (roughly 1 teaspoon per pound of chicken) to your salt rub alters the pH levels of the skin. This alkaline environment breaks down peptide bonds in the skin’s collagen, allowing it to brown faster and form tiny micro-bubbles. These bubbles crisp up as they dry, yielding an insanely light, crunchy crust.
Caution: Always use baking powder, not baking soda, and ensure it is aluminum-free to avoid any metallic aftertaste.
Step 3: Heat Management & Fat Rendering
Proper cooking temperature ensures fat renders out of the skin rather than remaining trapped beneath it.
+-------------------+--------------------+---------------------------------------+
| Cooking Method    | Initial Temp       | Finishing Temp / Action               |
+-------------------+--------------------+---------------------------------------+
| Oven Roasting     | 375°F (190°C)      | Blast at 425°F (220°C) last 10 mins   |
| Cast Iron Pan     | Medium-Low Heat    | Flip & finish on High Heat            |
| Air Frying        | 360°F (180°C)      | Increase to 400°F (200°C) last 5 mins |
+-------------------+--------------------+---------------------------------------+
Pan-Searing Chicken Thighs or Breasts
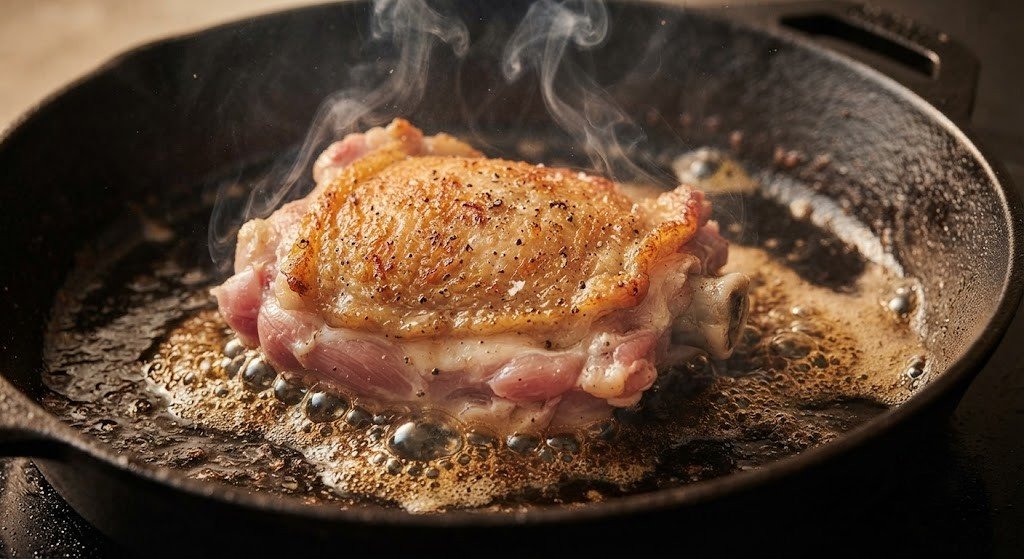
- Start Skin-Side Down in Cold Cast Iron: Place chicken skin-side down in a lightly oiled cold or medium-low skillet.
- Render Slowly: Cook gently for 12–15 minutes without moving the piece. This slowly melts the subcutaneous fat layer without burning the skin.
- Finish High: Once the skin is deep golden brown and crisp, flip the chicken briefly to finish cooking the meat through.
[External Link: Insert high-authority external URL here with anchor text: “USDA safe minimum internal temperature guidelines for poultry”
Essential Do’s and Don’ts for Perfect Crispiness
To ensure you succeed every time, keep these fundamental guidelines in mind:
- DO Use a Wire Rack: Elevating poultry allows hot air to circulate completely around the bottom, preventing soggy undersides.
- DO Oil Lightly: A very thin coat of high-smoke-point oil (like avocado or neutral vegetable oil) conducts heat evenly without steaming the skin.
- DON’T Overcrowd the Pan: Packing chicken pieces too close together traps released steam, creating a humid environment that ruins crispiness.
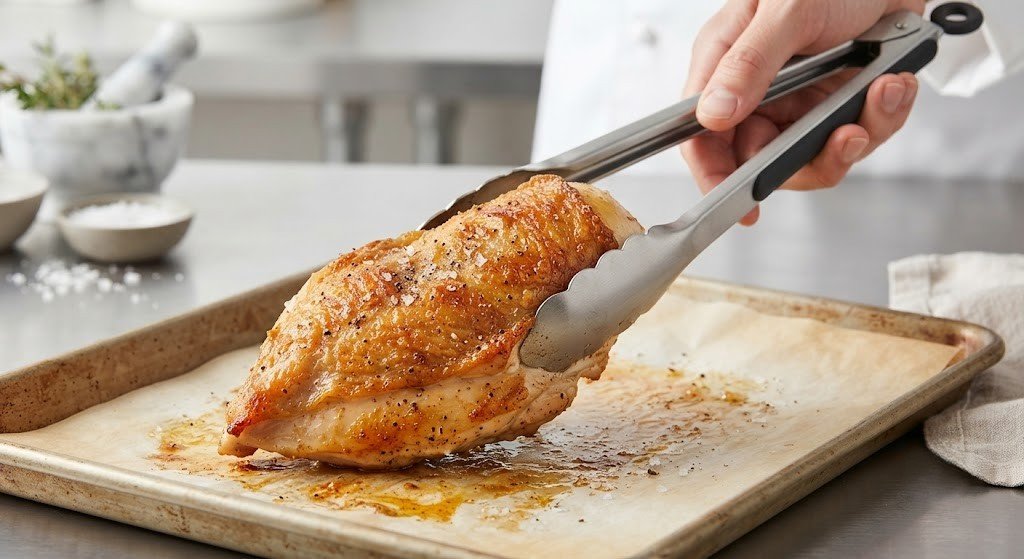
- DON’T Cover or Tent with Foil: Covering cooked chicken after removing it from heat traps residual steam, instantly softening your hard-earned crispy skin.
Conclusion
Learning how to get crispy chicken skin comes down to controlling moisture, adjusting skin chemistry, and managing heat effectively. By taking the time to dry-brine your poultry in the refrigerator, utilizing baking powder when appropriate, and rendering fat on wire racks or cast iron, you can achieve crackling, golden skin with every dish. Apply these simple steps during your next prep session to elevate your roasted or seared chicken to restaurant standards.
Frequently Asked Questions (FAQs)
Why is my chicken skin rubbery instead of crispy?
Rubbery chicken skin is caused by trapped moisture or unrendered fat. If the cooking temperature is too low or the skin is wet when entering the oven or pan, the skin steams instead of crisping. Ensure you dry the surface thoroughly and roast at elevated temperatures.
Can I get crispy chicken skin in an air fryer?
Yes. The air fryer excels at making skin crispy due to rapid heat convection. Dry the chicken thoroughly, toss with a light coat of oil and salt (plus a pinch of baking powder for wings), and cook at $360^\circ\text{F}$ ($180^\circ\text{C}$), finishing at $400^\circ\text{F}$ ($200^\circ\text{C}$) for the final few minutes.
Does butter make chicken skin crispier than oil?
No. Butter contains roughly 16–20% water and milk solids that burn easily at high heat. Pure oils with high smoke points (avocado, canola, or clarified butter/ghee) conduct heat far better without burning or adding unwanted moisture.
How do I keep crispy chicken skin crispy after cooking?
Rest the chicken on an open wire cooling rack rather than a flat plate or cutting board. Never cover or tent hot chicken tightly with aluminum foil, as the trapped condensation will immediately soften the skin.